| Label | Value |
|---|---|
| Topic | WiFi connectivity issues on Windows 11 |
| Who It Affects | Windows 11 users on laptops and desktops |
| Common Causes | Outdated drivers, misconfigured settings, DNS errors, router issues |
| Time to Fix | 5–30 minutes depending on the cause |
| Bottom Line | Most WiFi issues on Windows 11 can be fixed without reinstalling the OS or calling a technician. |
Introduction
Few things are more frustrating than sitting down at your PC and finding your WiFi not working on Windows 11. Whether your laptop suddenly stopped connecting, or Windows 11 can’t detect any networks at all, this problem has disrupted the routines of countless users since the operating system launched. The good news? In the vast majority of cases, the fix is entirely within your reach.
This guide walks you through every practical solution — from the simplest restart tricks to deeper driver and network configuration fixes. You don’t need to be a tech expert. Each step is explained clearly so that anyone can follow along and get back online as quickly as possible.
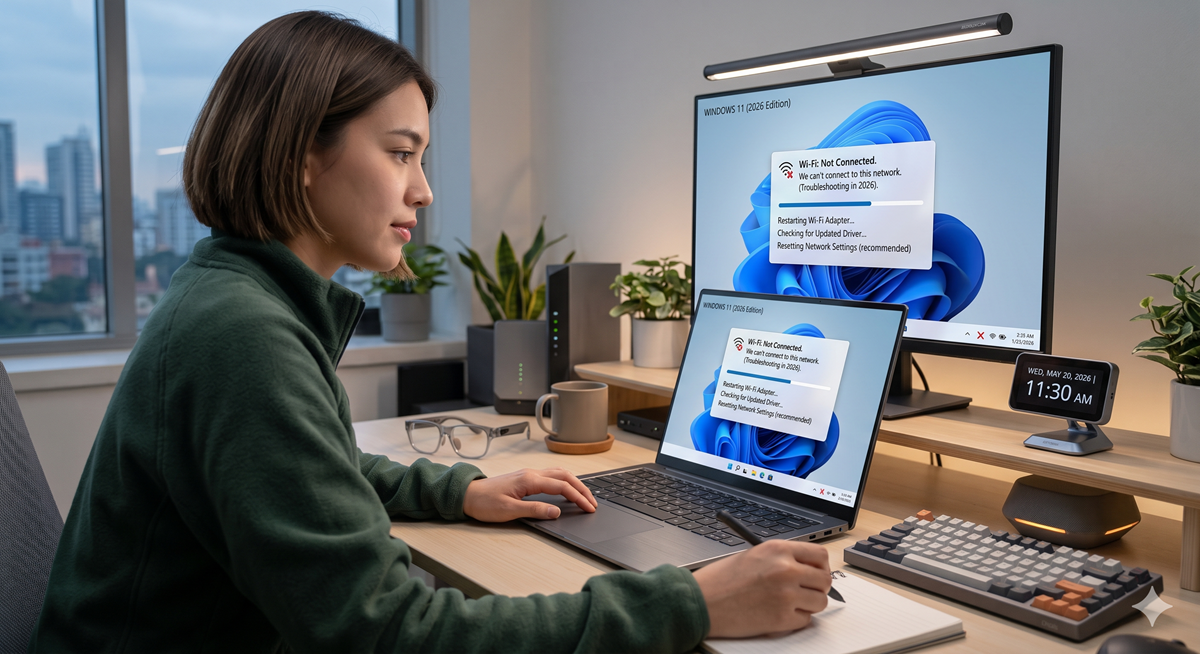
Why Does WiFi Stop Working on Windows 11?
Windows 11 introduced a redesigned network stack and updated driver architecture, which — while more powerful in theory — has caused compatibility headaches for many users, especially those who upgraded from Windows 10 rather than performing a clean install. Reports on Microsoft’s community forums and Reddit have consistently shown that WiFi-related issues are among the top complaints for Windows 11 users.
The causes vary widely. Sometimes a Windows Update quietly changes a network setting or overwrites a driver. Other times, the router’s IP lease expires and Windows fails to renew it gracefully. Power management settings can also force the WiFi adapter into a low-power sleep state it never wakes up from. Understanding what’s behind the problem helps you choose the right fix faster.
Step-by-Step Fixes for WiFi Not Working on Windows 11
1. Start with the Basics
Before diving into advanced troubleshooting, always try the quick wins first. Restart your PC fully — not just sleep or hibernate — and power cycle your router by unplugging it for 30 seconds before plugging it back in. Make sure Airplane Mode is turned off by going to Settings → System → Network & Internet and confirming the toggle is disabled. Also verify that the WiFi adapter itself is enabled by right-clicking the Start button, selecting Device Manager, expanding Network Adapters, and checking that your WiFi adapter isn’t disabled or showing a warning icon.
2. Run the Built-In Network Troubleshooter
Windows 11 includes a network troubleshooter that can automatically detect and fix many common issues. To access it, go to Settings → System → Troubleshoot → Other Troubleshooters, then click Run next to “Internet Connections.” Follow the on-screen prompts. If that doesn’t resolve it, also run the “Network Adapter” troubleshooter from the same list. These tools can reset misconfigured settings, re-enable disabled adapters, and clear corrupted temporary network data automatically.
3. Update or Reinstall WiFi Drivers
Outdated or corrupted WiFi drivers are one of the most common causes of WiFi not working on Windows 11. Open Device Manager, expand Network Adapters, right-click your WiFi adapter, and select Update Driver. Choose “Search automatically for drivers” first. If that finds nothing new, visit your laptop or motherboard manufacturer’s website directly — for example, Dell Support, HP Support, or ASUS Support — and download the latest driver for your exact model. To reinstall, right-click the adapter in Device Manager and choose Uninstall Device, then restart your PC. Windows will automatically reinstall a fresh copy of the driver on reboot.
4. Reset Network Settings via Command Prompt
When software-level issues are to blame, resetting the TCP/IP stack and flushing the DNS cache often resolves the problem completely. Open Command Prompt as Administrator (search “cmd” in the Start menu, right-click, and choose “Run as administrator”), then run these commands one by one:
netsh int ip reset
ipconfig /release
ipconfig /flushdns
ipconfig /renew
Restart your PC after running these commands. Many users report this single step resolves their WiFi issue after Windows updates break network connectivity.
5. Disable WiFi Power Management
Windows 11 sometimes powers down the WiFi adapter to save battery, and the adapter fails to wake up properly. To disable this behavior, open Device Manager, right-click your WiFi adapter, go to Properties → Power Management, and uncheck “Allow the computer to turn off this device to save power.” Click OK and test your connection. This is especially helpful for users on laptops where WiFi drops randomly or after waking from sleep.
📌 Key Points
- Restarting your PC and router is the fastest first step when WiFi stops working on Windows 11.
- Windows 11’s built-in network troubleshooter can automatically detect and fix many connectivity issues.
- Outdated or corrupted WiFi drivers are a leading cause of WiFi problems, especially after OS updates.
- Running TCP/IP reset commands in Command Prompt clears corrupted network configuration data effectively.
- Disabling power management on the WiFi adapter prevents Windows from shutting it down during sleep or idle.
Impact & Analysis: What This Means for Windows 11 Users
WiFi connectivity problems don’t just cause inconvenience — for remote workers, students, and small business owners, a broken internet connection translates directly into lost productivity and missed deadlines. The fact that WiFi not working on Windows 11 remains a recurring issue years into the operating system’s life suggests that Microsoft’s driver compatibility and power management defaults still need refinement.
In the short term, the manual fixes outlined above are reliable and well-tested. For the long term, keeping Windows Update enabled ensures you receive patches that address known network bugs. Microsoft has released several cumulative updates specifically targeting WiFi stability, so staying current is your best passive defense. If problems persist after all these steps, the issue may be hardware-related — an aging WiFi card that struggles with Windows 11’s newer driver model — in which case a USB WiFi adapter is a cost-effective upgrade.
People Are Also Asking
Conclusion
Dealing with WiFi not working on Windows 11 is aggravating, but it’s rarely a crisis. Starting with the simple fixes — a restart, checking Airplane Mode, running the troubleshooter — solves the problem for most people. When those don’t work, updating or reinstalling your WiFi driver and flushing the DNS cache through Command Prompt are your most powerful next steps.
The key is to approach it methodically rather than randomly clicking around. Work through the steps in order, and you’ll have a clear answer — and very likely a working connection — within 30 minutes. If this guide helped you get back online, consider sharing it with a friend who’s facing the same frustration, or drop a comment below with which fix worked for you.
Disclaimer: This article is for informational purposes only. Steps may vary slightly depending on your version of Windows 11 and hardware configuration. Always back up important data before making system changes.
Sources: Microsoft Support documentation, Windows 11 release notes, and community-verified troubleshooting guides.
Related Internal Links
- US Gas Price Hits $4.56 — How to Save Money on Fuel in 2026
- US Inflation Rate April 2026: What It Means for You
- Eid al-Adha 2026: Date, Significance & Celebrations
- Best Dividend Stocks to Buy in June 2026